
Table of Contents
- Understanding Your Old Garden Sprinkler System
- Locating and Inspecting the Main Water Shut-Off Valve
- Identifying Leaks: How to Find a Broken Sprinkler Pipe Underground
- Replacing Old Sprinkler Heads and Pop-Up Nozzles
- Flushing Debris and Testing System Pressure
- Troubleshooting Electrical and Controller Problems
- Cost of Professional Sprinkler Repair in Australia
- Winterisation and Seasonal Maintenance for Older Systems
Repairing Old Garden Sprinkler Systems: A Step-by-Step Guide
Last Updated: August 3, 2026
Repairing old garden sprinkler systems requires patience, basic tools, and a methodical approach. Most problems stem from clogged nozzles, debris in lines, corroded connections, or failed electrical components. At WaterPro’s, we’ve spent over three decades helping Melbourne property owners restore systems from the 1990s and early 2000s to full working condition. This guide walks you through diagnosing problems, fixing them safely, and preventing future failures.
A leaking sprinkler system wastes thousands of litres of water annually and drives up your water bill. According to research from the Australian Bureau of Meteorology, irrigation accounts for roughly 50% of residential water use in many Australian regions.
Understanding Your Old Garden Sprinkler System
Your irrigation system comprises five core components: the main water supply line, the control valve, the timer or controller, the zone valves, and the sprinkler heads. Water enters through a backflow preventer (a safety device preventing contaminated water from flowing back into the mains), then flows to the main control valve. The controller signals zone valves to open, allowing water to specific garden sections. Each zone typically has 4-8 sprinkler heads. Pipes are usually PVC (rigid plastic) or polyethylene tubing (flexible), joined by couplings. Risers elevate sprinkler heads above ground, and pop-up nozzles retract when the system shuts off.
Before touching anything, take a photo of your system layout with your phone. Mark the main valve location, zone valve positions, and which sprinkler heads serve which garden areas. This reference prevents costly mistakes during repairs.
Locating and Inspecting the Main Water Shut-Off Valve
Your main water shut-off valve is the single most important component to locate before attempting any repair work. Most Australian homes have it positioned near the property boundary, close to where the mains water line enters your land. Look for a rectangular metal or plastic box in the ground, usually near the front fence line or along the side of your house.
Dig gently around the valve box to expose the top. Remove the lid and insert your water key (a long metal tool with a square or cross-shaped head), then turn it clockwise to close the valve. You should feel resistance; don’t force it. If the valve won’t budge, spray it with penetrating oil and wait 15 minutes before trying again.
If you cannot locate or operate your main shut-off valve, call your water supplier before starting any repairs. A stuck or missing valve is a sign that professional help is needed; attempting to force it risks damaging the mains connection.
Once you’ve confirmed the main valve works, locate the isolation valve for your irrigation system specifically. This is usually positioned between the main supply line and your backflow preventer. Turn this valve off before working on any part of the system.
Identifying Leaks: How to Find a Broken Sprinkler Pipe Underground
Finding a broken underground sprinkler pipe requires detective work. Start by walking your garden on a dry day, 24 hours after your system last ran. Look for patches of unusually green or soggy grass, standing water, or muddy patches. Mark these spots with flags or spray paint.
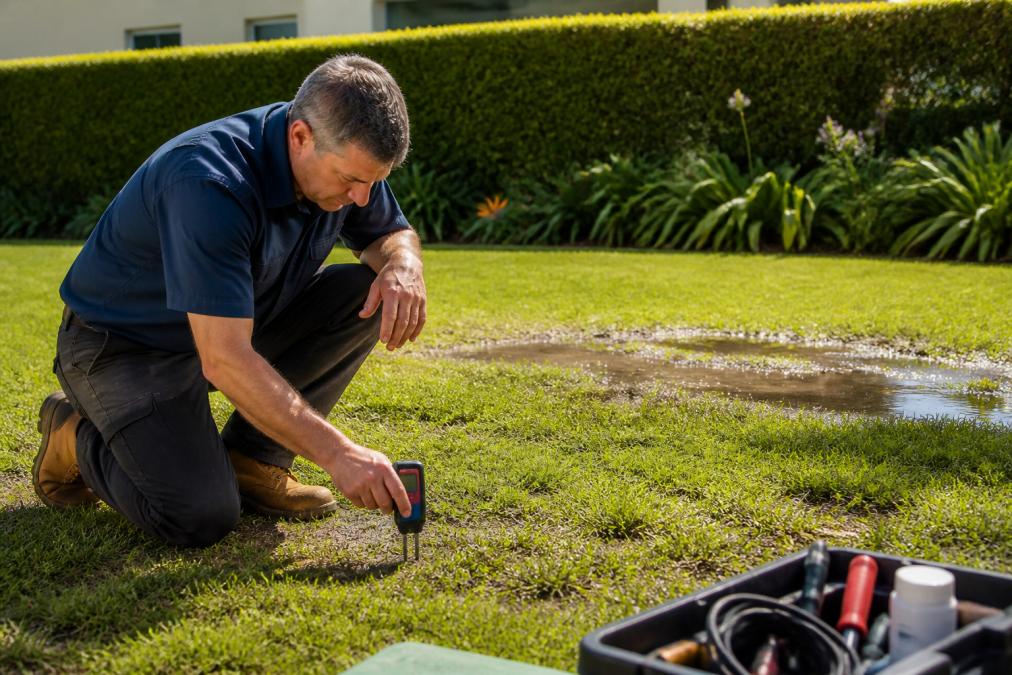
Turn on your irrigation system and observe the marked areas. You may see water bubbling or spraying from the ground, or hear hissing sounds. If water doesn’t appear immediately, turn off the system and dig carefully at the wet spot, starting 30 centimetres away and working toward the centre to avoid damaging the pipe further.
Once you’ve exposed the pipe, inspect it for cracks, holes, or crushed sections. Older polyethylene pipes degrade in sunlight and become brittle. PVC pipes may crack from ground movement or freeze damage. Note the pipe diameter and material; you’ll need this when purchasing a replacement.
The most reliable way to find a hidden leak is to pressurize the system and listen for hissing or rushing water sounds. If you have a water pressure gauge, connect it to an outdoor tap and note the reading. A sudden drop in pressure after closing the main valve indicates a leak in the underground lines.
Replacing Old Sprinkler Heads and Pop-Up Nozzles
Clogged or broken sprinkler heads are the easiest repairs you’ll tackle. Turn on the system and observe which heads spray weakly, spray in the wrong direction, or don’t spray at all. Mark these heads with flags. Turn off the system and allow it to drain for 5 minutes.
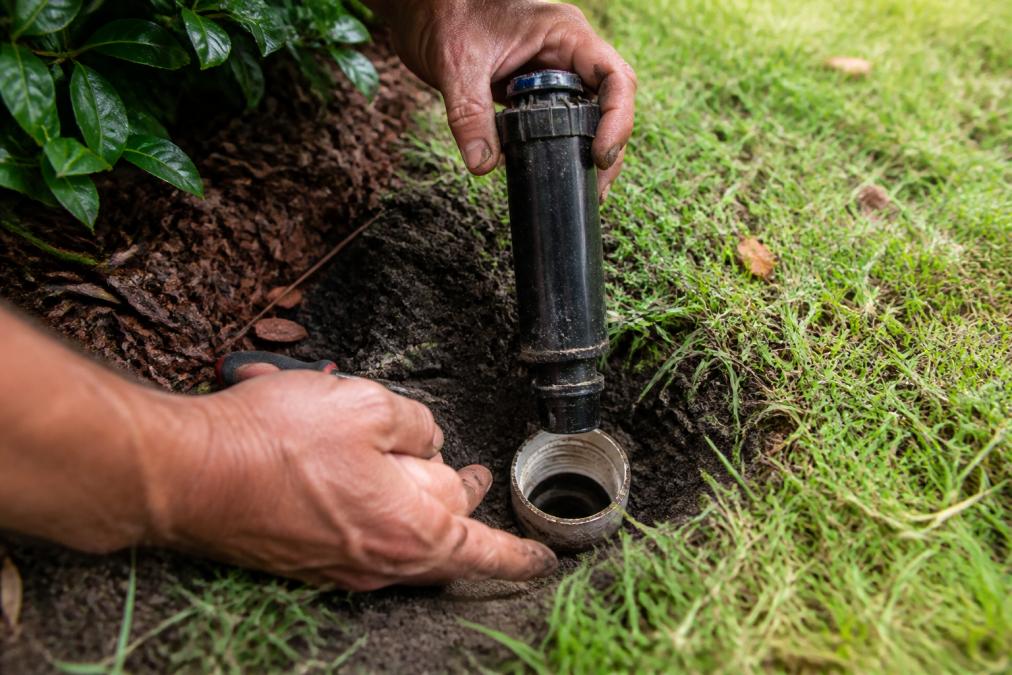
To remove a head, grip it firmly and turn it counterclockwise by hand. Most heads unscrew from a riser, a short vertical pipe that elevates the head above ground. If the head is stuck, wrap a cloth around it for better grip and turn gently. Do not use a wrench; you risk stripping the threads.
For a clogged nozzle, soak the head in white vinegar for 30 minutes. Use a soft brush to clean the spray openings. Rinse thoroughly under running water. Reinstall the head and test. If soaking doesn’t restore flow, the internal mechanism is damaged and replacement is necessary.
When purchasing a replacement head, bring the old one to your supplier. Sprinkler heads vary by spray pattern (full circle, half circle, quarter circle), throw distance, and nozzle size. To install a new head, screw it onto the riser by hand until snug. Turn on the system briefly to check the spray pattern. If the pattern is wrong, unscrew it, rotate 90 degrees, and reinstall.
Keep a spare pop-up head and a spare riser in your garage. When a head fails mid-season, you can replace it in minutes without waiting for parts to arrive. WaterPro’s stocks compatible replacement heads for most older system brands.
If the riser itself is cracked or leaking, dig around it to expose the coupling that connects it to the main line below. Using a pipe wrench, hold the pipe steady while turning the coupling counterclockwise. Once free, unscrew the old riser, clean the coupling threads, and screw in a new riser. Test the connection for leaks before backfilling the soil.
Flushing Debris and Testing System Pressure
Debris, sand, sediment, rust, and mineral deposits accumulate in irrigation lines over decades. Flushing your system removes it and restores performance.
Before flushing, close all zone valves except one. Open the isolation valve for that single zone. Locate the flush cap at the end of the zone line. Unscrew it and place a bucket underneath. Turn on the system. Water will spray out, carrying debris. Let it run for 2-3 minutes until the water runs clear. Close the zone valve, replace the flush cap, and move to the next zone. Repeat for every zone.
After flushing all zones, reconnect the system and test pressure. A pressure gauge screws onto any outdoor tap. Normal irrigation pressure is 200-350 kilopascals (kPa). If your system reads below 200 kPa, you have a leak or blockage. If it exceeds 350 kPa, the pressure regulator may be faulty.
| Zone | Pressure Reading (kPa) | Flow Rate (litres/min) | Status |
|---|---|---|---|
| Zone 1 (front lawn) | 280 | 45 | Normal |
| Zone 2 (garden beds) | 240 | 35 | Low, check for leaks |
| Zone 3 (side yard) | 320 | 50 | High, regulator needs adjustment |
Never exceed 400 kPa. High pressure damages pipes, causes leaks, and shortens the lifespan of sprinkler heads. If your system consistently reads above 350 kPa, install or adjust a pressure regulator at the main valve.
If pressure is low across all zones, the problem is upstream in the main supply line, the backflow preventer, or the main control valve. Check that all isolation valves are fully open (turn counterclockwise until they stop). If they’re open and pressure is still low, the backflow preventer may be clogged and requires professional cleaning or replacement.
Troubleshooting Electrical and Controller Problems
If your system doesn’t turn on at the scheduled time, first check the power supply. Verify that the controller is plugged in and that the outlet has power (test with a lamp). Check the circuit breaker; a tripped breaker is the most common cause of system failure.
Next, inspect the wiring between the controller and the zone valves. Older systems use thin copper wires buried in shallow trenches. Water exposure corrodes these wires and causes shorts. Look for exposed or damaged wire insulation. If you find damaged wiring, professional help is needed.
For mechanical timers, check that the dial is set to the correct time and day. If your timer is 15 minutes slow or fast, it’s aging and should be replaced. Modern digital timers are inexpensive and far more reliable.
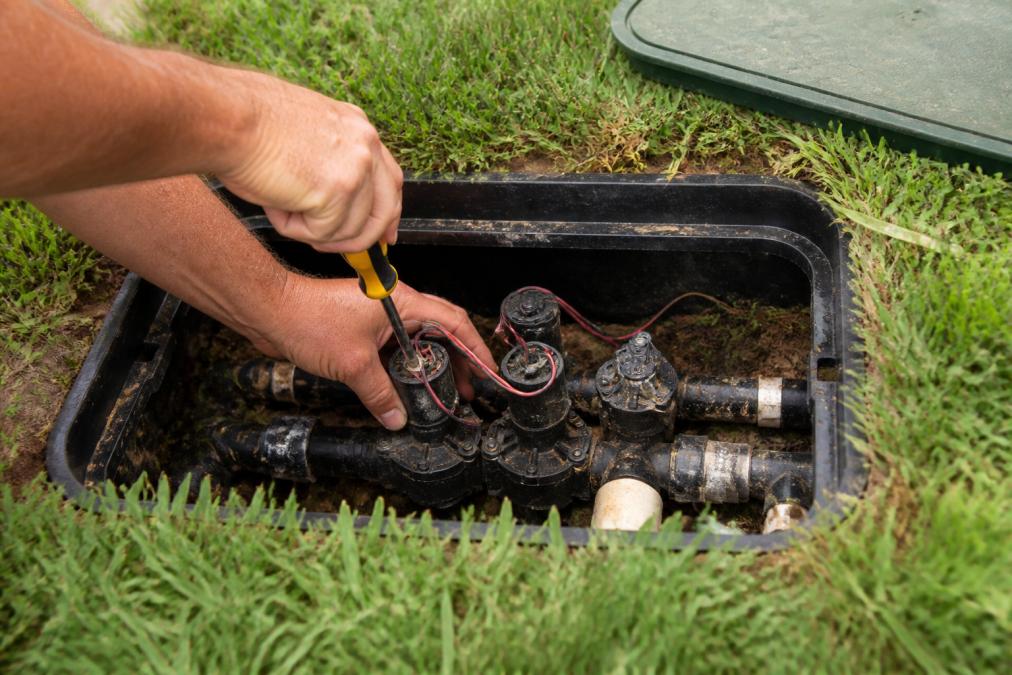
If the controller powers on but the system doesn’t activate, check the solenoid valves. These electromagnetic devices open and close the zone valves. Listen closely when the controller should activate; you should hear a faint clicking sound from the solenoid. If you don’t hear it, the solenoid is dead and needs replacement.
Most controller failures are power-related, not electrical-system failures. Always check the power supply and circuit breaker first. If the controller has power but the system doesn’t activate, the solenoid valve is your next suspect.
To replace a solenoid, shut off the system and locate the zone valve. The solenoid is a cylindrical coil attached to the valve body. It’s held in place by a single bolt. Remove the bolt, disconnect the wires (take a photo first), and lift off the old solenoid. Install the new solenoid, reconnect the wires, and tighten the bolt. Test the system.
Cost of Professional Sprinkler Repair in Australia
Deciding whether to repair your system yourself or hire a professional depends on the complexity of the problem and your comfort level with tools. Simple repairs, replacing a sprinkler head, clearing a clogged nozzle, or flushing debris, are well within reach for most homeowners and require only basic hand tools.
More complex repairs, replacing underground pipes, diagnosing pressure problems, or rewiring a controller, demand professional expertise. A qualified irrigation technician has pressure gauges, pipe locators, and diagnostic tools that most homeowners don’t own. They can pinpoint a leak in minutes rather than hours. If the problem is underground, involves electrical work, or you’re unsure of the diagnosis, professional help saves time and prevents costly mistakes. WaterPro’s offers free garden irrigation design consultations and can assess your system’s condition without obligation.
Winterisation and Seasonal Maintenance for Older Systems
Australian winters are mild compared to northern climates, but Melbourne’s winter temperatures can still damage irrigation systems. In late autumn (typically April in Melbourne), reduce watering frequency as plants need less water in cooler weather.
Before the first frost, drain all water from exposed pipes and sprinkler heads. Turn off the main isolation valve and open all zone valve drains (small plugs at the lowest point of each zone). Leave them open for 24 hours to allow complete drainage.
Inspect all above-ground components for damage: check risers for cracks, examine nozzles for wear, and verify that all connections are tight. Tighten any loose fittings by hand; do not use a wrench, as over-tightening can strip threads.
| Season | Maintenance Task | Frequency | Priority |
|---|---|---|---|
| Spring (Sept-Nov) | Flush debris, test pressure, inspect heads | Once at season start | High |
| Summer (Dec-Feb) | Check for leaks weekly, adjust spray patterns | Weekly during hot spells | High |
| Autumn (Mar-May) | Reduce watering frequency, inspect for damage | Bi-weekly | Medium |
| Winter (June-Aug) | Drain lines, winterise, cover exposed pipes | Once before frost | High |
In spring (September in Melbourne), reverse the winterisation process. Turn on the main isolation valve slowly; rushing this step can burst pipes if air pockets have formed. Open each zone valve gradually. Run the system for a few minutes to purge air from the lines. Then perform a full flush of all zones to remove any sediment that settled during winter.
Mark your winterisation and spring restart dates in your calendar. Set phone reminders three weeks before each date. Seasonal maintenance takes only a few hours but prevents costly emergency repairs when your system fails mid-season.
Repairing old garden sprinkler systems is entirely manageable when you approach it methodically. Most problems are simple and fixable in an afternoon. Larger issues benefit from professional diagnosis and repair. WaterPro’s has spent over three decades helping Melbourne homeowners restore aging irrigation systems to reliable working condition. We offer free garden irrigation design consultations, stock compatible replacement parts for older systems, and provide qualified technicians for repairs you’d rather leave to experts. Book a consultation today and let our team assess your system’s condition and recommend the most cost-effective repair path forward.
Frequently Asked Questions
How do I know if my old sprinkler system is worth repairing rather than replacing?
Check the age and condition of your main components. If your system is under 15 years old and only isolated sprinkler heads or valves are failing, repair is usually cost-effective. However, if the PVC pipe or polyethylene tubing is brittle, the controller is unreliable, or you're experiencing frequent leaks across multiple zones, replacement may be more economical. A qualified technician can assess your system and advise whether repairing old garden sprinkler systems makes financial sense for your property.
Can I replace old sprinkler heads with modern water-efficient models on my existing system?
Yes, in most cases. Modern pop-up nozzles and spray heads are designed to fit standard risers and couplings used in older systems. However, check the riser diameter (typically 13mm or 16mm) and water pressure requirements before purchasing replacements. Water-efficient heads often use less flow, which can improve coverage consistency. Ensure the new nozzles match your system's pressure rating to avoid poor spray patterns or damage to other components.
What should I do if I find a leak in my underground irrigation line?
First, shut off your main water valve to prevent further water loss. Locate the leak by checking for wet patches, sunken soil, or unusually green areas in your garden. Once you've identified the section, you may need to excavate carefully to access the damaged pipe. Small leaks in PVC or polyethylene tubing can sometimes be repaired with coupling connectors or repair clamps, but severely cracked sections usually require replacement. For complex underground repairs, professional help ensures you don't damage other utilities.
Do I need a licensed plumber to repair my garden sprinkler system in Australia?
For basic repairs like replacing sprinkler heads or clearing clogged nozzles, you can often handle the work yourself. However, if your system involves backflow prevention devices, solenoid valves, or work near mains water connections, you may need a licensed plumber depending on your state's regulations. For excavation work or electrical controller repairs, professional expertise is recommended. Contact your local council or a qualified technician to confirm what work requires licensing in your area.
This article was written using GrandRanker