
Table of Contents
- Choosing the Right Energy Efficient Garden Pump for Your Needs
- How to Calculate Pump Flow Rate for Irrigation Systems
- Solar Powered Garden Pump Installation: Setup and Best Practices
- Step-by-Step Installation Guide for Garden Pumps
- Maintaining Garden Water Pumps for Longevity and Performance
- Maximizing Energy Savings: Off-Peak Operation and Smart Timers
- Common Installation Mistakes to Avoid
- Conclusion
Last Updated: August 18, 2026
Choosing the Right Energy Efficient Garden Pump for Your Needs
Selecting an energy efficient garden pump requires understanding your system’s demands before you buy. The wrong pump wastes money on electricity, underperforms during peak demand, or fails prematurely. Energy efficiency isn’t just about wattage consumption, it’s about choosing a pump that delivers exactly what your garden needs without oversizing or undersizing. An oversized pump runs continuously at partial capacity, wasting power. An undersized pump strains under load, drawing more current than it should and burning out faster.
Submersible vs. External Pump Types
Submersible pumps sit underwater in a pond, tank, or bore. External pumps mount above ground and draw water through a suction line. Submersible pumps are simpler to install and require no priming; water surrounding the motor provides natural cooling, an efficiency advantage during extended summer operation. They’re ideal for ponds, water features, and bore systems. External pumps mount on a shelf or stand beside your water source and are easier to maintain, but require careful setup to avoid air leaks. They handle higher flow rates and head pressures better than submersible models of equivalent wattage.
The decision hinges on your water source depth, system size, and maintenance tolerance. Shallow ponds and water features favour submersibles. Large gardens with bore water or tank systems often benefit from external pumps, especially when head pressure exceeds 20 metres.
Understanding Flow Rate and Head Pressure
Flow rate measures how much water the pump moves per unit time, typically expressed in litres per hour (lph). Head pressure is the height the pump can push water vertically, measured in metres. A pump rated at 3,000 lph at zero head pressure will deliver far less water if pushing against 15 metres of vertical lift.
Calculate your actual requirements before shopping. Measure the vertical distance from water source to the highest point in your garden. Add 10 per cent for friction loss in pipes and fittings. Then determine how much water your garden needs per hour during peak demand. Cross-reference these figures against the pump’s performance curve to confirm it delivers adequate flow at your actual head pressure. A typical garden irrigation system needs 500-2,000 lph depending on garden size and plant density.
How to Calculate Pump Flow Rate for Irrigation Systems
Lawn irrigation typically requires 10-15 litres per square metre per week in summer. A 200-square-metre lawn needs roughly 2,000-3,000 litres per week. Divide this by your watering frequency to get hourly demand: 1,000-1,500 lph during operation. Garden beds and established trees need less frequent, deeper watering.
Consider your irrigation method. Drip irrigation and soaker hoses deliver water slowly and efficiently, requiring lower flow rates than spray irrigation. A drip system covering 200 square metres might need only 800 lph, while spray irrigation for the same area needs 1,500-2,000 lph.
Calculate peak demand by adding up simultaneous zones. If you water three zones at once, multiply single-zone flow by three. If zones run sequentially, use single-zone flow. Add 20 per cent as a safety margin for future expansion and friction losses. A pump operating at 70-80 per cent of rated capacity runs more efficiently and lasts longer than one constantly maxed out.
Solar Powered Garden Pump Installation: Setup and Best Practices
Solar powered garden pumps eliminate ongoing electricity costs and suit off-grid applications perfectly. They’re ideal for remote garden areas, bore systems, and water features where running power lines is impractical or expensive.
A solar powered garden pump system requires three components: solar panels, a pump rated for solar operation, and often a small controller or inverter. Panel size depends on daily water demand and your location’s solar irradiance. A typical 500-watt solar panel system can run a 1,500-watt pump for 6-8 hours daily during summer, assuming clear skies.
The critical mistake is undersizing the solar array. Cloudy days and winter reduce output significantly. If your pump needs to run reliably year-round, plan for 50 per cent of peak summer capacity. Position solar panels facing north (in the southern hemisphere) at an angle matching your latitude. Shade from trees or buildings cuts output dramatically. Connect the pump through a controller that regulates voltage and protects against overcharging. Test the system in different seasons before relying on it fully.
Step-by-Step Installation Guide for Garden Pumps
Installing an energy efficient garden pump correctly ensures optimal performance and longevity. Poor installation creates leaks, reduces efficiency, and shortens pump life.
What You’ll Need Before Starting
Gather these items before beginning: the pump and motor assembly, mounting brackets or housing, inlet and outlet fittings matching your pipe diameter, plumbing sealant or thread tape, pipe clamps, a wrench set, a spirit level, and the pump’s electrical cable and plug. For submersible pumps, you’ll need a submersible cable rated for outdoor use and a weatherproof connection box. For external pumps, you’ll need suction and discharge pipes, a check valve for the suction line, and a foot valve if drawing from a tank or bore.
Installation Steps
Step 1: Prepare the mounting location [Time: 15 minutes]
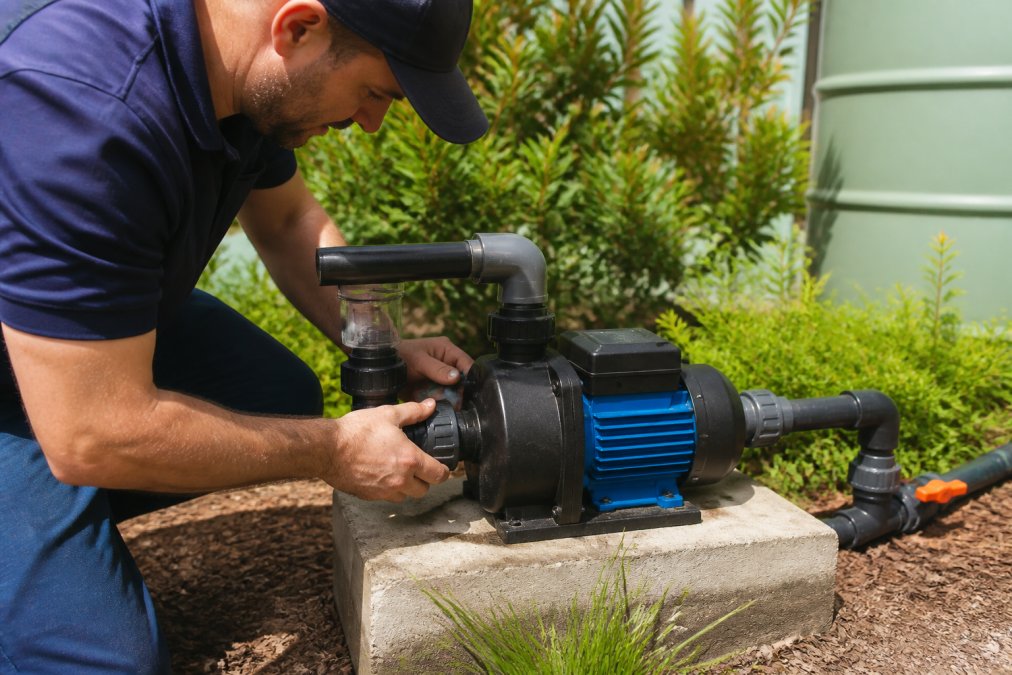
For external pumps, choose a level, shaded spot near the water source. Mount on a concrete pad or sturdy shelf, using the supplied brackets. Level the pump carefully; even slight tilting affects performance and can cause seal failure.
Step 2: Connect inlet and outlet pipes [Time: 20 minutes]
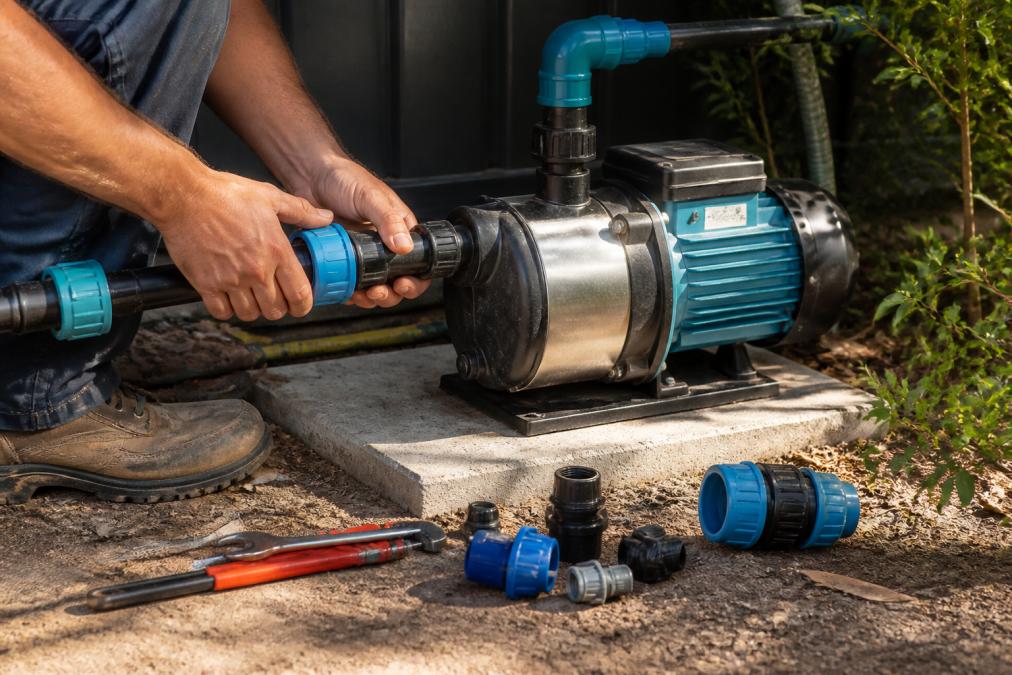
For external pumps, connect the suction line (inlet) first. Use a rigid or semi-rigid pipe to avoid collapsing under vacuum. Apply thread sealant or wrap thread tape around male fittings, then hand-tighten. Connect the discharge (outlet) pipe to the pump’s outlet port. Install a check valve in the discharge line if the pump is below the water level. This prevents backflow and loss of prime when the pump stops.
Step 3: Prime the pump (external pumps only) [Time: 10 minutes]
Fill the pump casing with water through the inlet port before starting. This removes air and allows the pump to establish suction. Open the inlet line’s highest point and fill until water flows, then close.
Step 4: Electrical connection [Time: 15 minutes]
For submersible pumps, attach the power cable to the pump terminal box above water, using waterproof connectors. Run the cable to a weatherproof outlet or timer switch. For external pumps, connect the power cable to the motor terminal box. Ensure the outlet is protected by an earth leakage circuit breaker (safety switch) rated for outdoor use.
Step 5: Test the system [Time: 10 minutes]
Run the pump for 30 seconds and check for leaks at all pipe connections. Tighten any connections that drip. Listen for unusual noise; grinding or squealing indicates misalignment or bearing damage. Check that water flows from the discharge outlet at expected pressure.
Safety Precautions and De-energizing
Always de-energize the pump before servicing. Switch off at the wall outlet and unplug the cable. Never run an external pump dry; dry running destroys the mechanical seal within seconds. Always prime before starting.
Install a safety switch (earth leakage circuit breaker) on all outdoor electrical connections. This protects against electric shock if the cable is damaged. Test the safety switch monthly by pressing its test button. For submersible pumps, never operate above water for more than a few seconds. The motor relies on water cooling. Keep electrical connections dry and check them seasonally.
Maintaining Garden Water Pumps for Longevity and Performance
Regular maintenance extends pump life by five to ten years and keeps energy consumption optimal.
Regular Cleaning and Debris Filtration
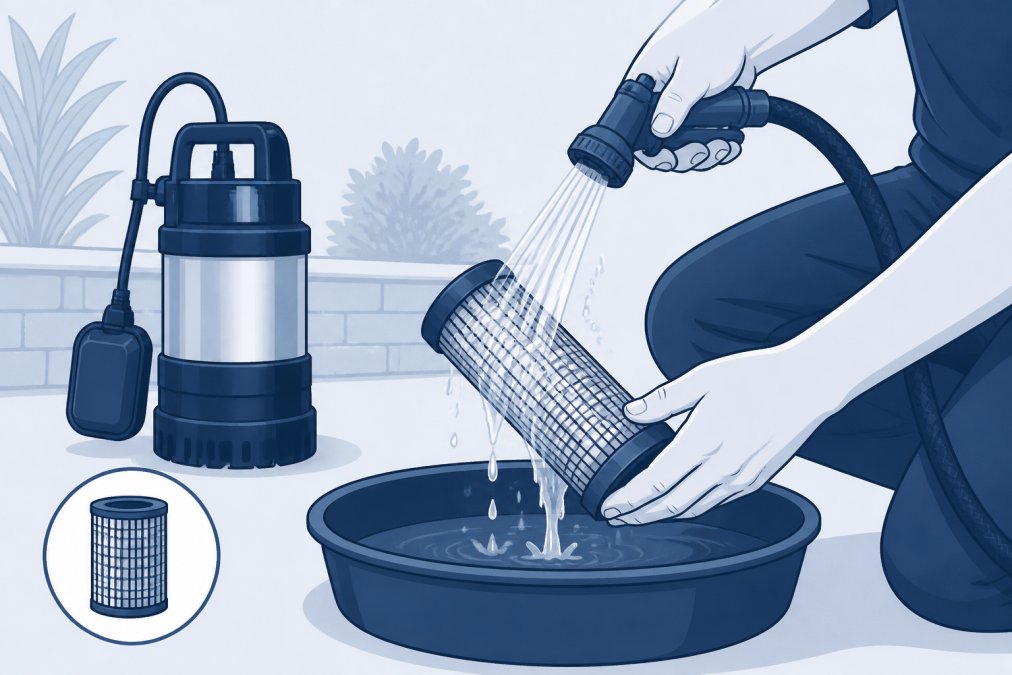
Inspect the pump’s intake filter monthly during summer operation. Debris, leaves, sand, and algae clog the filter and force the pump to work harder, consuming more electricity. Remove the filter cartridge and rinse it under clean running water. If permanently stained or damaged, replace it. A clean filter reduces power consumption by 5-10 per cent compared to a blocked one.
For submersible pumps in ponds, clean the intake screen regularly. Lift the pump slightly and remove accumulated debris by hand. Check all visible seals and gaskets for cracks or weeping. Inspect the discharge line for blockages; if water pressure drops suddenly, the line may be clogged with mineral deposits or debris.
Seasonal Winterization for Energy Efficiency
Prepare your pump for winter by draining all exposed pipes and the pump casing if it’s above ground. Trapped water freezes, expands, and cracks the pump housing. Switch off the pump and unplug it if you won’t use it for more than a month. If you operate the pump year-round, reduce operating hours in winter. For solar powered pumps, clean the solar panels before winter; dust and debris reduce output by 10-20 per cent.
Maximizing Energy Savings: Off-Peak Operation and Smart Timers
Operating your pump during off-peak electricity hours cuts energy costs significantly. If your electricity plan offers time-of-use pricing, running the pump outside peak hours (typically 7-9 am and 5-9 pm) reduces your bill by 30-50 per cent.
Install a timer switch on the pump outlet. Simple mechanical timers cost $20-$50 and allow you to set specific run hours. Programmable digital timers offer more flexibility. Pair your timer with a soil moisture sensor for maximum efficiency; the sensor measures soil water content and triggers the pump only when needed, cutting water waste and energy consumption by 40-60 per cent compared to fixed schedules.
Water early morning (5-7 am) when temperatures are cool and wind is calm. Water evaporates less, so the pump runs for shorter periods. For large irrigation systems, consider a separate meter for the pump to track consumption and identify efficiency improvements.
Common Installation Mistakes to Avoid
Undersizing the pump is the most costly error. A pump that can’t deliver adequate flow at your system’s head pressure runs constantly at maximum load, consuming far more electricity than a correctly sized unit and failing prematurely. Verify flow rate and head pressure requirements before purchasing.
Installing an external pump above the water level without priming it causes immediate seal damage. Always fill the pump with water and bleed air from the inlet line before starting. Ignoring friction losses in pipe calculations leads to undersized systems; add 10-15 per cent to your calculated head pressure for friction, or use larger-diameter pipes.
Mounting the pump on uneven ground causes vibration, noise, and accelerated bearing wear. Use a spirit level and shim the mounting feet until the pump sits perfectly level. Neglecting to install a check valve in the discharge line allows backflow when the pump stops, causing loss of prime and wasting energy on re-priming. A check valve costs $10-$20 and prevents this problem entirely.
Failing to protect electrical connections from water causes corrosion and short circuits. Use weatherproof outlet covers and check connections seasonally.
Installing an energy efficient garden pump correctly from the start saves money, water, and frustration. WaterPro’s qualified technicians have guided Melbourne homeowners through this process since 1990, helping them avoid costly mistakes and achieve reliable, efficient garden irrigation. If you’re unsure about any step or want professional installation, our team can design a system tailored to your property and handle the technical work. Book Now to discuss your garden’s specific needs and explore how a properly installed energy efficient garden pump can transform your outdoor space while reducing your electricity costs.
| Installation Phase | Key Action | Time Required | Energy Impact |
|---|---|---|---|
| Planning | Calculate flow rate and head pressure | 20 minutes | Prevents oversizing |
| Setup | Mount pump level, prime external units | 30 minutes | Ensures optimal efficiency |
| Testing | Check for leaks and pressure | 10 minutes | Identifies problems early |
| Maintenance | Clean filters monthly, winterize | 15 minutes monthly | Maintains 95%+ efficiency |
| Optimization | Install timer and moisture sensor | 45 minutes | Reduces consumption 40-60% |
Frequently Asked Questions
Can I install an energy efficient garden pump myself, or do I need a licensed plumber?
Many homeowners can install submersible pumps themselves if they follow safety guidelines and understand electrical requirements. However, external pump installations involving complex plumbing connections often benefit from professional expertise. Always de-energize the system before work, use an RCD (residual current device) for electrical safety, and check local regulations. If you're uncertain about electrical or plumbing aspects, hiring a qualified technician ensures proper installation and protects your warranty.
What flow rate do I need for my garden irrigation system?
Flow rate depends on your garden size, number of outlets, and watering goals. Calculate it by determining how many litres per hour (lph) your sprinklers or drip lines require, then add 10-20% for system losses. For example, if you have 10 sprinkler heads needing 40 lph each, you need approximately 440-480 lph capacity. Measure your water source's available pressure (head pressure) as well, this affects which pump model suits your setup. WaterPro's can help assess your specific requirements during a free design consultation.
How often should I run my garden pump to save energy?
Run your pump during off-peak electricity hours when rates are lowest, typically early morning or late evening. Install a timer to automate this schedule rather than running the pump continuously. Most gardens need 2-4 hours of watering daily, depending on season and plant type. During winter, reduce runtime significantly as plants require less water. Smart controllers can adjust schedules based on rainfall and soil moisture, further reducing energy consumption and operating costs.
What's the difference between submersible and external pumps for energy efficiency?
Submersible pumps sit underwater and are generally more energy-efficient because they don't need to lift water from depth as much as external models. They're ideal for tanks, ponds, and boreholes. External pumps work well for surface water sources and are easier to maintain, but they consume more power when lifting water over distance. Solar-powered options work best with submersible setups. Choose based on your water source location and available space, WaterPro's can recommend the most efficient option for your garden layout.
This article was written using GrandRanker